


Tiny Christmas Smitten!
A look at an outstanding quilt


Hi friends!
Tonight I’ve got something really special for you!
I love seeing your work on Instagram and your ideas come to life. When I saw Sara’s mockup for her Love Letter Smitten I wasn’t even sure what I was looking at! Then I saw her making it and was totally gobsmacked. I was so blown away that I had to get Tiny Christmas into her hands as fast as possible.
Let’s hear from Sara! We’ll get to know her, her process, and see her beautiful quilt.
Hi Everyone!
It’s Sara Brown (@SaraBQuilts) with a guest post for Lizzy House! I am so excited to talk about my Tiny Christmas Smitten quilt and a little bit about my design process. I am thrilled to be sharing the fabric layout and applique border pattern with you as well! I hope you find as much happiness from this spectacular fabric line as I do.

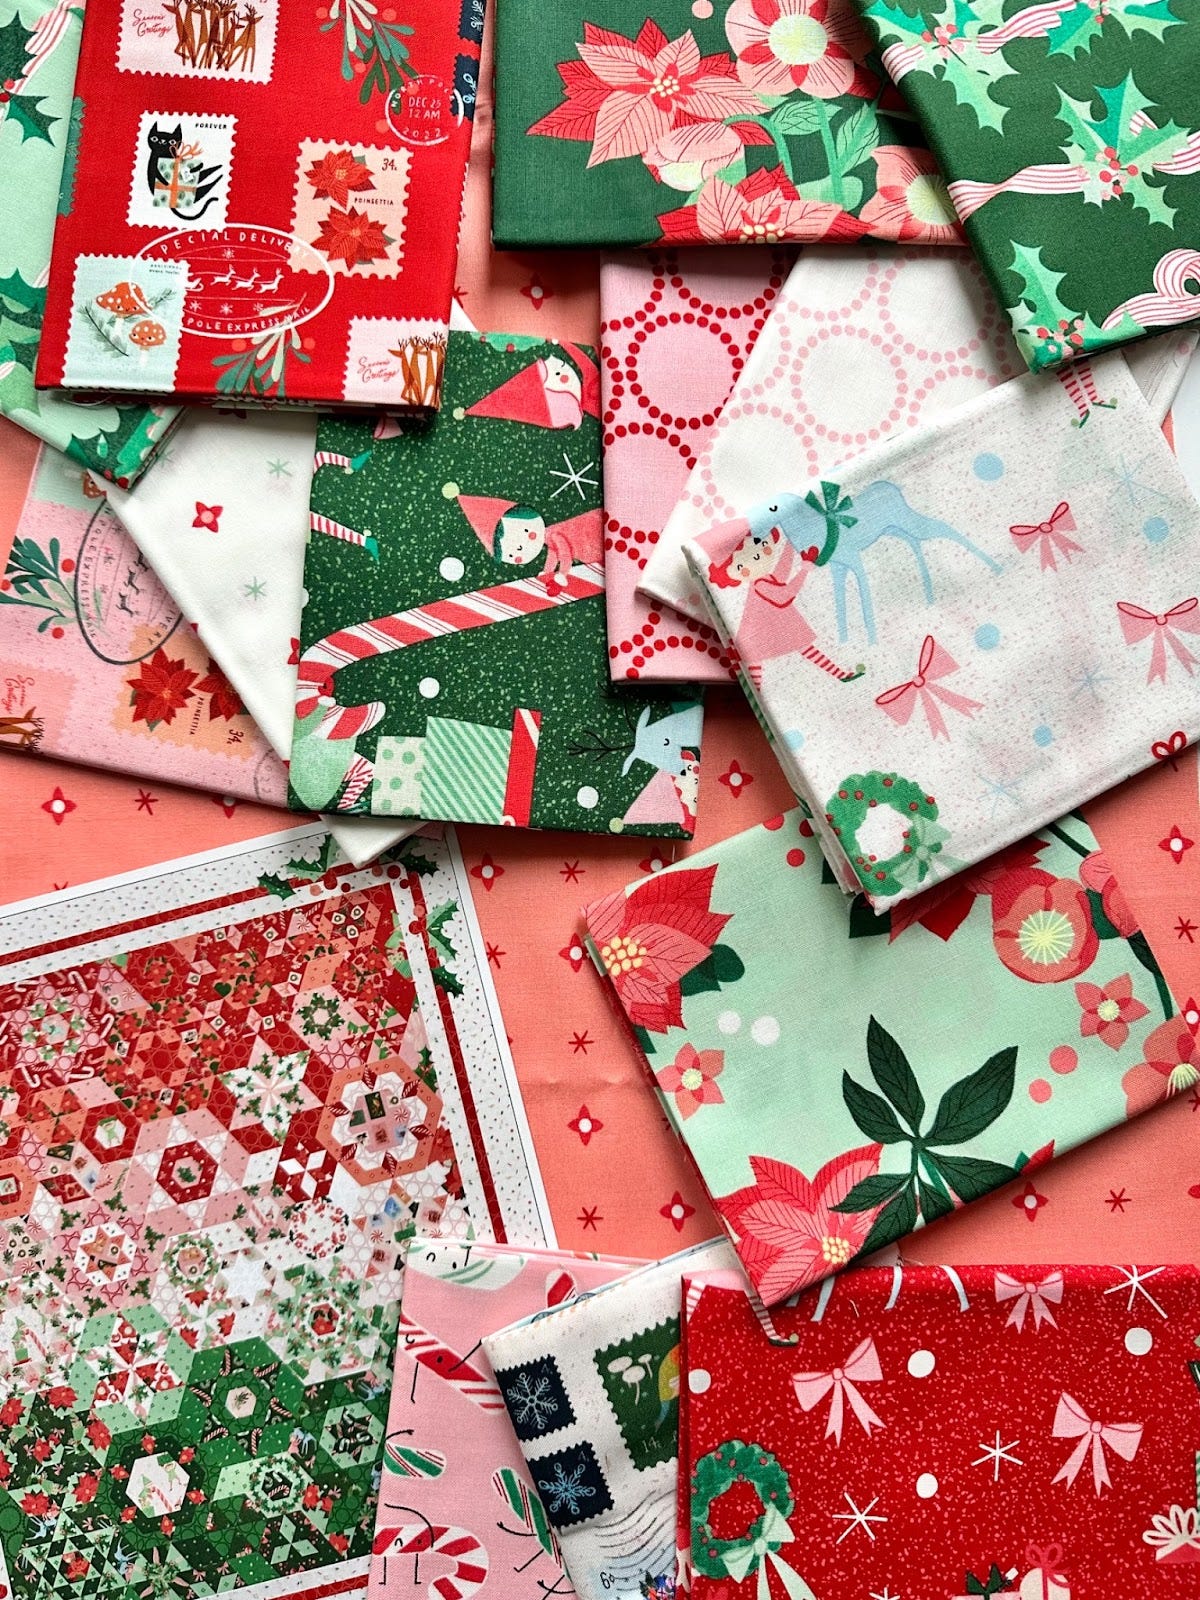
A little bit about myself first. I have been sewing since 2020 and discovered English Paper Piecing a year later. Hand sewing is my form of relaxation and I spend most evenings after my kids are asleep sewing on the couch. I started creating my own fabric placement layouts awhile back to ensure I was happy with the quilt outcome before putting countless hours of sewing into a project. My undergraduate degree is in Industrial Design from Georgia Tech, so I’ve been able to use my knowledge of Adobe Illustrator to create these layouts. Using the fabric collection preview swatches from the Moda website and the Smitten shapes, I created a Tiny Christmas layout I am very excited about!
Smitten Layout Process
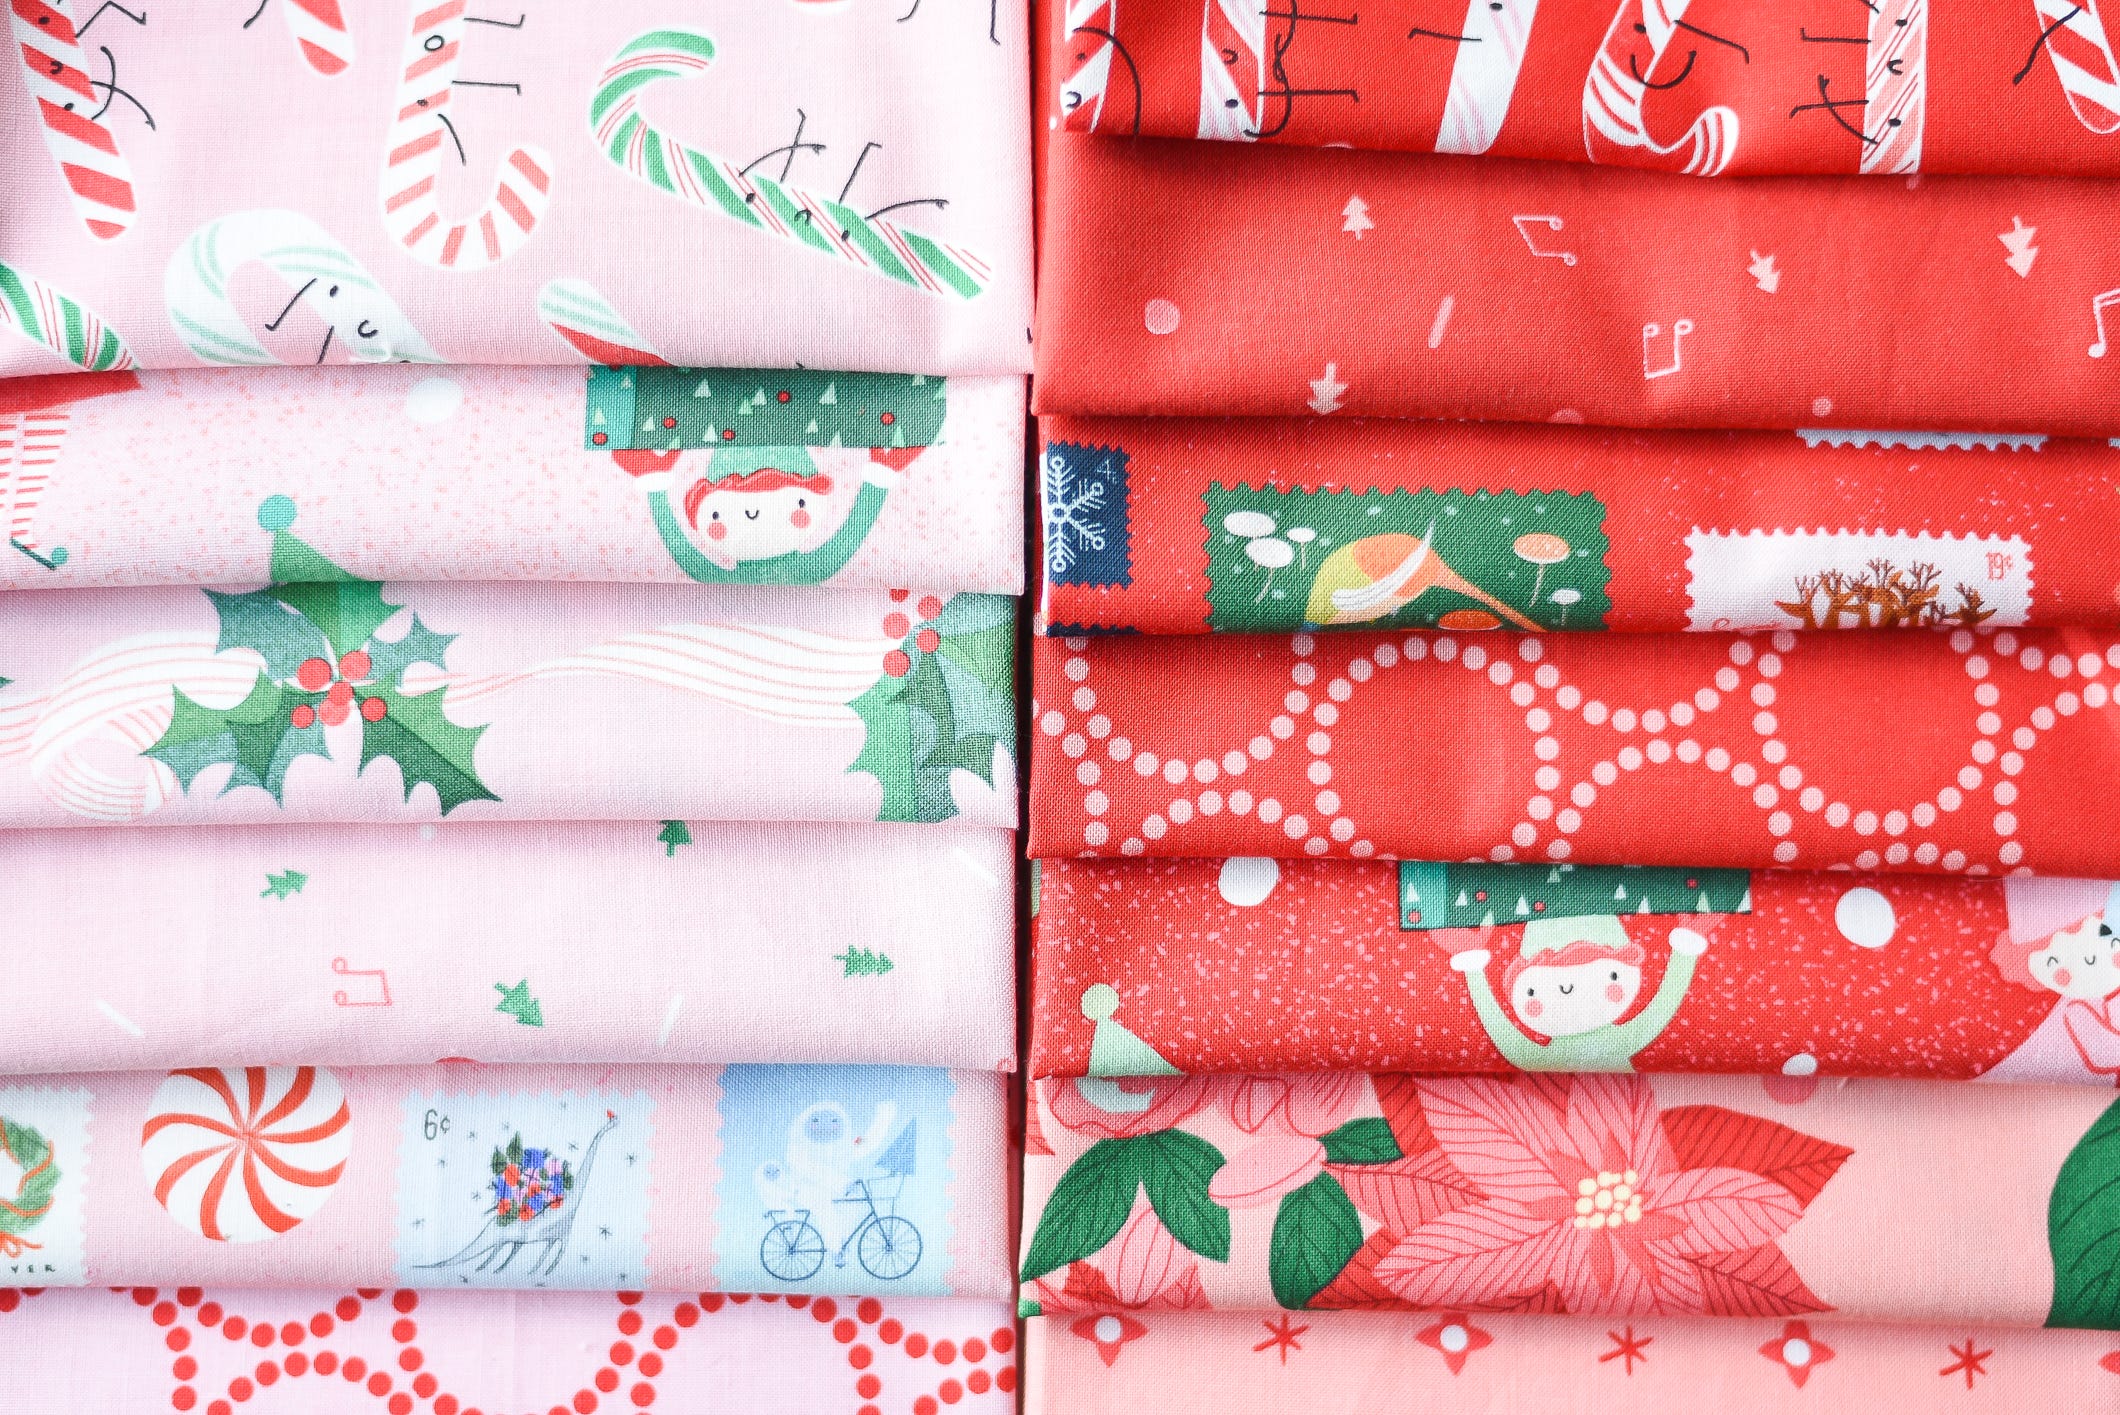
When making a Smitten layout, I follow just a few guidelines. First, I decide if I want a diagonal or horizontal color gradient. While diagonal gradients are really fun to look at, this orientation is better suited for fabric collections that focus on one color more than others because the color used on the center diagonal line will be used the most and each color off of that line will be used less and less. For a horizontal color gradient, every color gets used the same amount and you can determine how many gradient changes are made throughout. I prefer a horizontal gradient because, whether the gradient is three colors or five colors, I have more control over how the colors are used.
Second, I decide if there will be a common background color that runs throughout the color gradient or if the background will be scrappy and blend with the gradient. Both options create a beautiful quilt but the gradient will be more dramatic and pronounced with the scrappy, matching background. You can see on my Love Letter Smitten that I chose Pearl Bracelets and Wonder in Eggshell White as the background fabrics throughout the whole quilt, while in the Tiny Christmas Smitten I keep the background fabrics matching the red, green, and white sections. It is a subtle but very different look when you see them side by side!


Third, while it feels counterintuitive once you’ve created a color gradient, I like to bleed the colors into other sections to add visual interest. For instance, if I have a red, pink and orange gradient, I will put some red pieces in the pink section and maybe even the orange section to keep the Smitten layout from looking flat. It will add visual interest and draw your eyes around the quilt instead of stopping at each color section.
Border Creation Process

For anyone who has made a Smitten quilt, you know that they are not the largest quilts around. At 48” x 61” it is a nice lap size, but some of us like slightly larger quilts. Because of this, I often add a border to my Smitten quilts. For the Tiny Christmas Smitten, I added a 6” wide border that includes a machine sewn stripe and some applique holly! This makes the quilt 60” x 73” which is the perfect size in my opinion.
For the applique holly, I traced illustrations from the Holly Stripes fabric to get the shapes. I split the holly into two pieces so that two different shades of green could be used to create shadowing. After creating the holly and berries, I played with the layout and the amount to get a well balanced but not overly-busy border! The fun thing about applique is that it will be added after the quilt top is complete, so more or less holly can be added as you build up the border!
Picking the main border fabric was challenging. I thought about one of the pinks first but decided it might distract from the color gradient in the Smitten, so I switched to a white background. I originally used Christmas Star Blender as the main background fabric, but the red stars created a grid-like appearance that distracted from the applique work. I switched to Christmas Cookie Blender and it was the perfect random placement of the sprinkles to keep your eyes moving around the quilt.
Additional Things
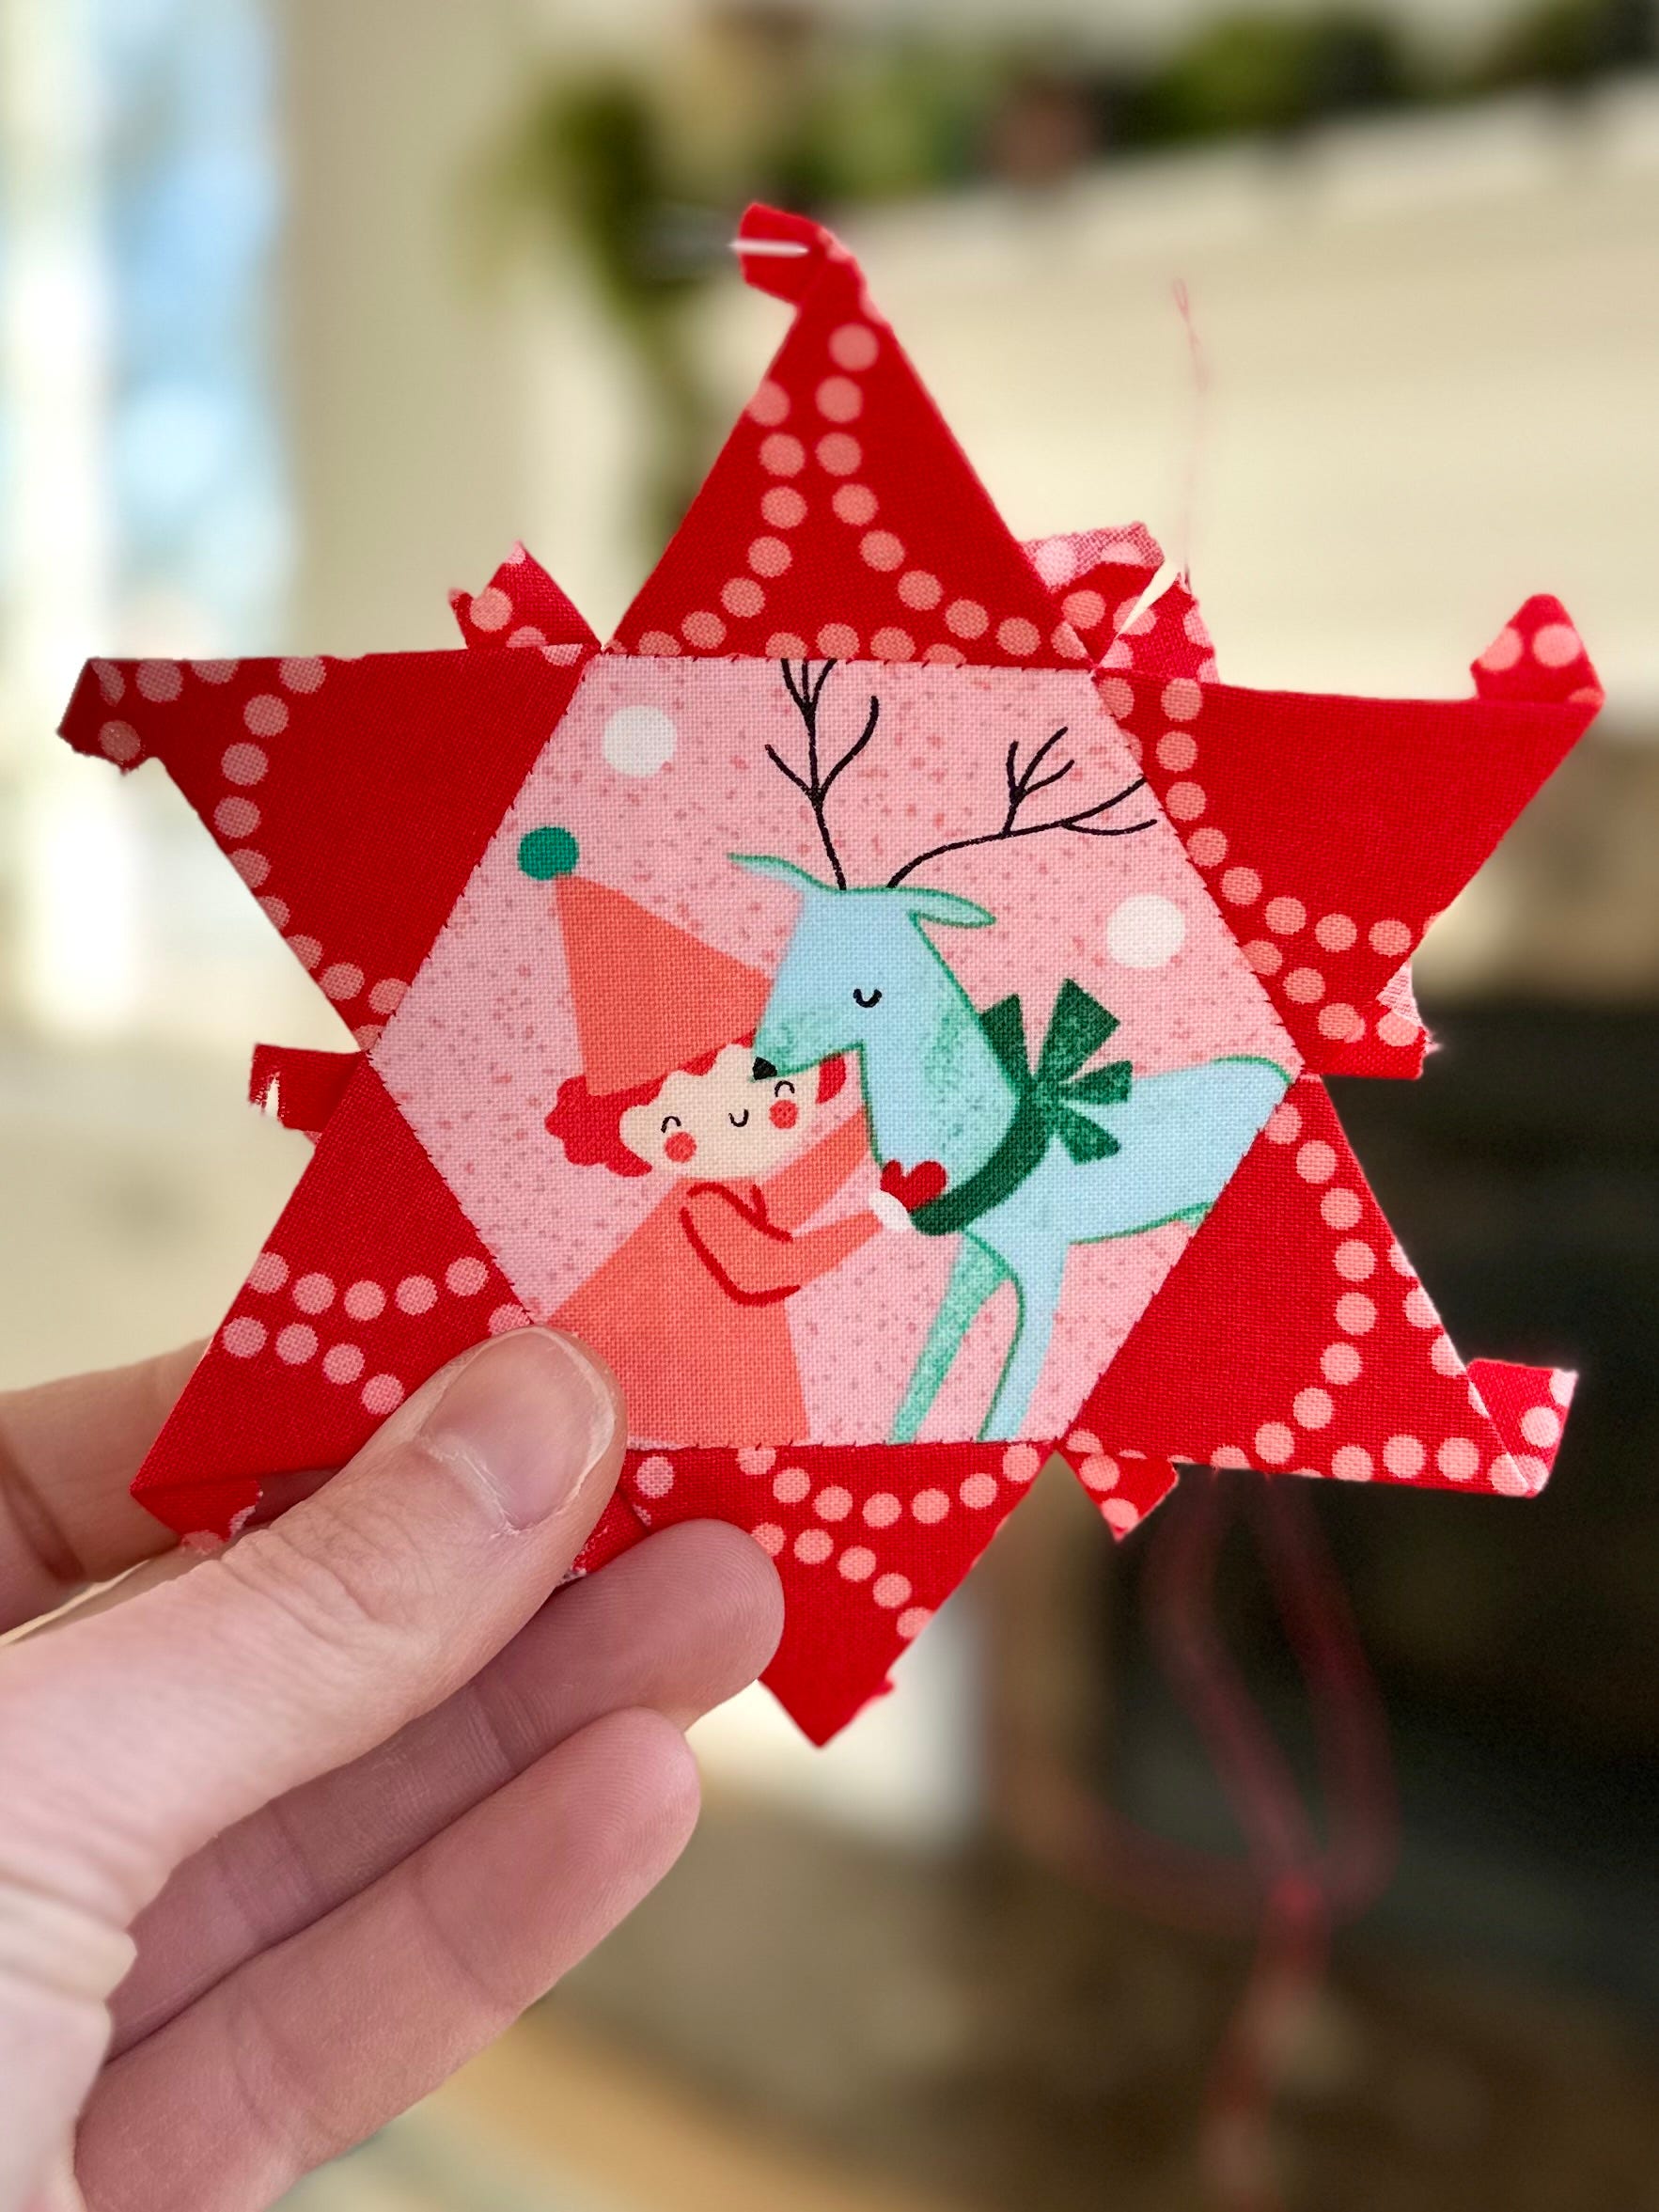
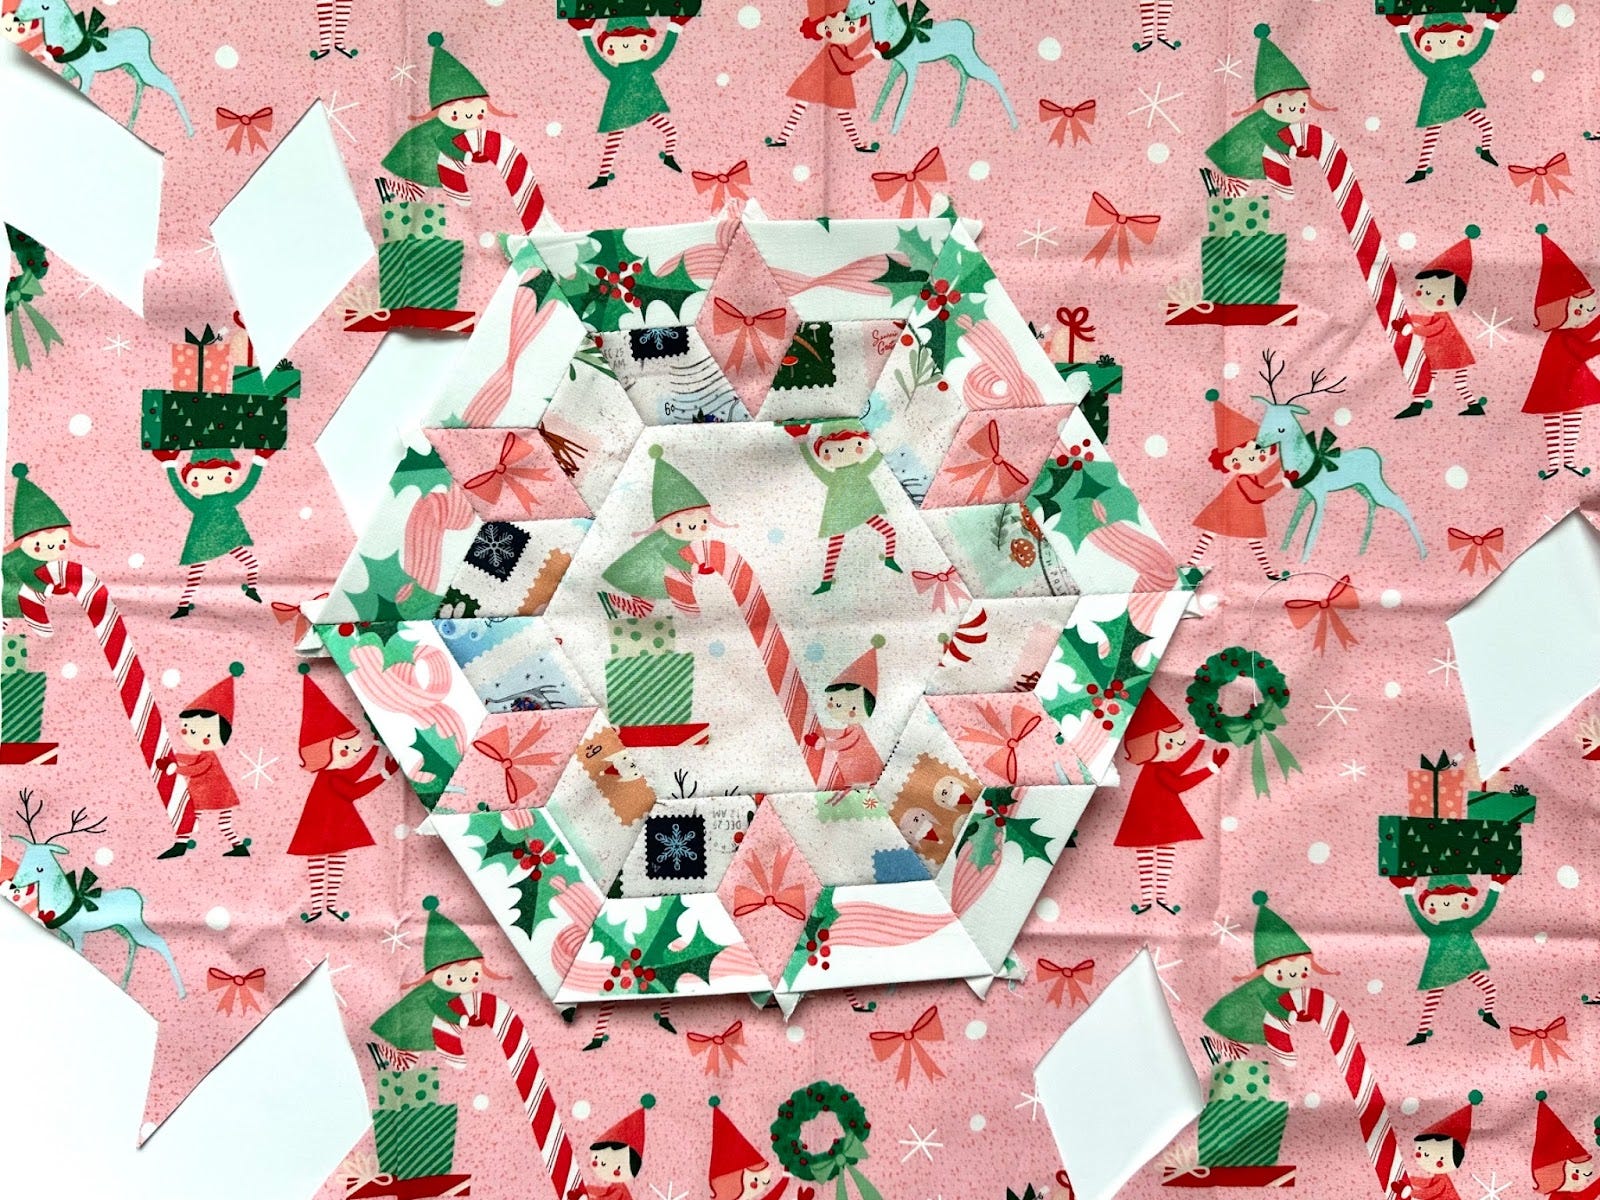
Let’s talk about fussy cutting! I love a good fussy cut as much as the next person, but we need to talk about fabric waste. A good example is the block below with the adorable pink bows on the 6 center diamonds. If you choose to fussy cut the bows, you lose the ability to use the other illustrations to their full capacity as you can see. For this particular block, I decided it was worth the loss to get the centered bows, but that is a decision everyone has to make on their own! I designed the Tiny Christmas Smitten to use one FQ bundle (excluding the border), so it has been important to me to not over-fussy cut and prevent that from working out. If you do plan on fussy cutting for this quilt or another Tiny Christmas quilt, I highly recommend getting extra of the Elves and Holly Stripe fabrics in each color!
Finally, I want to talk about my fabric layout versus the actual pattern. You will be able to tell from my fabric layout how to put this Smitten quilt together. While I am sure you can figure out what size the shapes are and how to sew it up on your own, I ask that you not do that. I am providing this fabric layout- my time and my creative process- for free but the pattern designer is not. You can purchase the Smitten quilt pattern at many locations online and you can purchase it directly from the designer HERE. Let’s give artists the credit owed to them!

I have enjoyed sharing a little bit about my creative process with you so much! As a newer quilter and fabric collector I missed out on the early Lizzy House fabric collections, so I am so thrilled we are getting another chance to play with her amazing fabrics! If you have any questions about my Tiny Christmas Smitten layout or border pattern, please feel free to contact me on Instagram at @SaraBQuilts and I will help as best I can!
Happy sewing!
Sara
SARA!!!! Thank you so much. And thank you to Moda Fabrics for providing fabric for this wonderful project
Sara has been ultra generous with her time and energy and made the layout of her Smitten quilt Guide available here for download! We just ask that if you’re going to make it, that you purchase the pattern from your favorite retailer or directly from the designer.
I also wanted to mention that the ordering window for Tiny Christmas is closing! On Monday December 16th, pre-orders for Tiny Christmas will end. If you are a shop, or have a shop local to you that you love to frequent, please send them a note tonight! and tell them how much you’d like to purchase Tiny Christmas from them in June! There’s still time to call their Moda rep or order online!
Have a wonderful weekend!!!
xoxo Lizzy
Let’s leave some love for Sara in the comments!
 | A guest post by
|
This is absolutely exquisite, Sara! Your blocks, that amazing border, and Lizzi's beautiful fabrics all came together to create gorgeous Christmas magic! Kudos 👏 💐 🎄❤️✨️
Do you know if there will be kits for the Tiny Christmas Smitten? I did see the block of the month, but I want my quilt done sooner than that😆